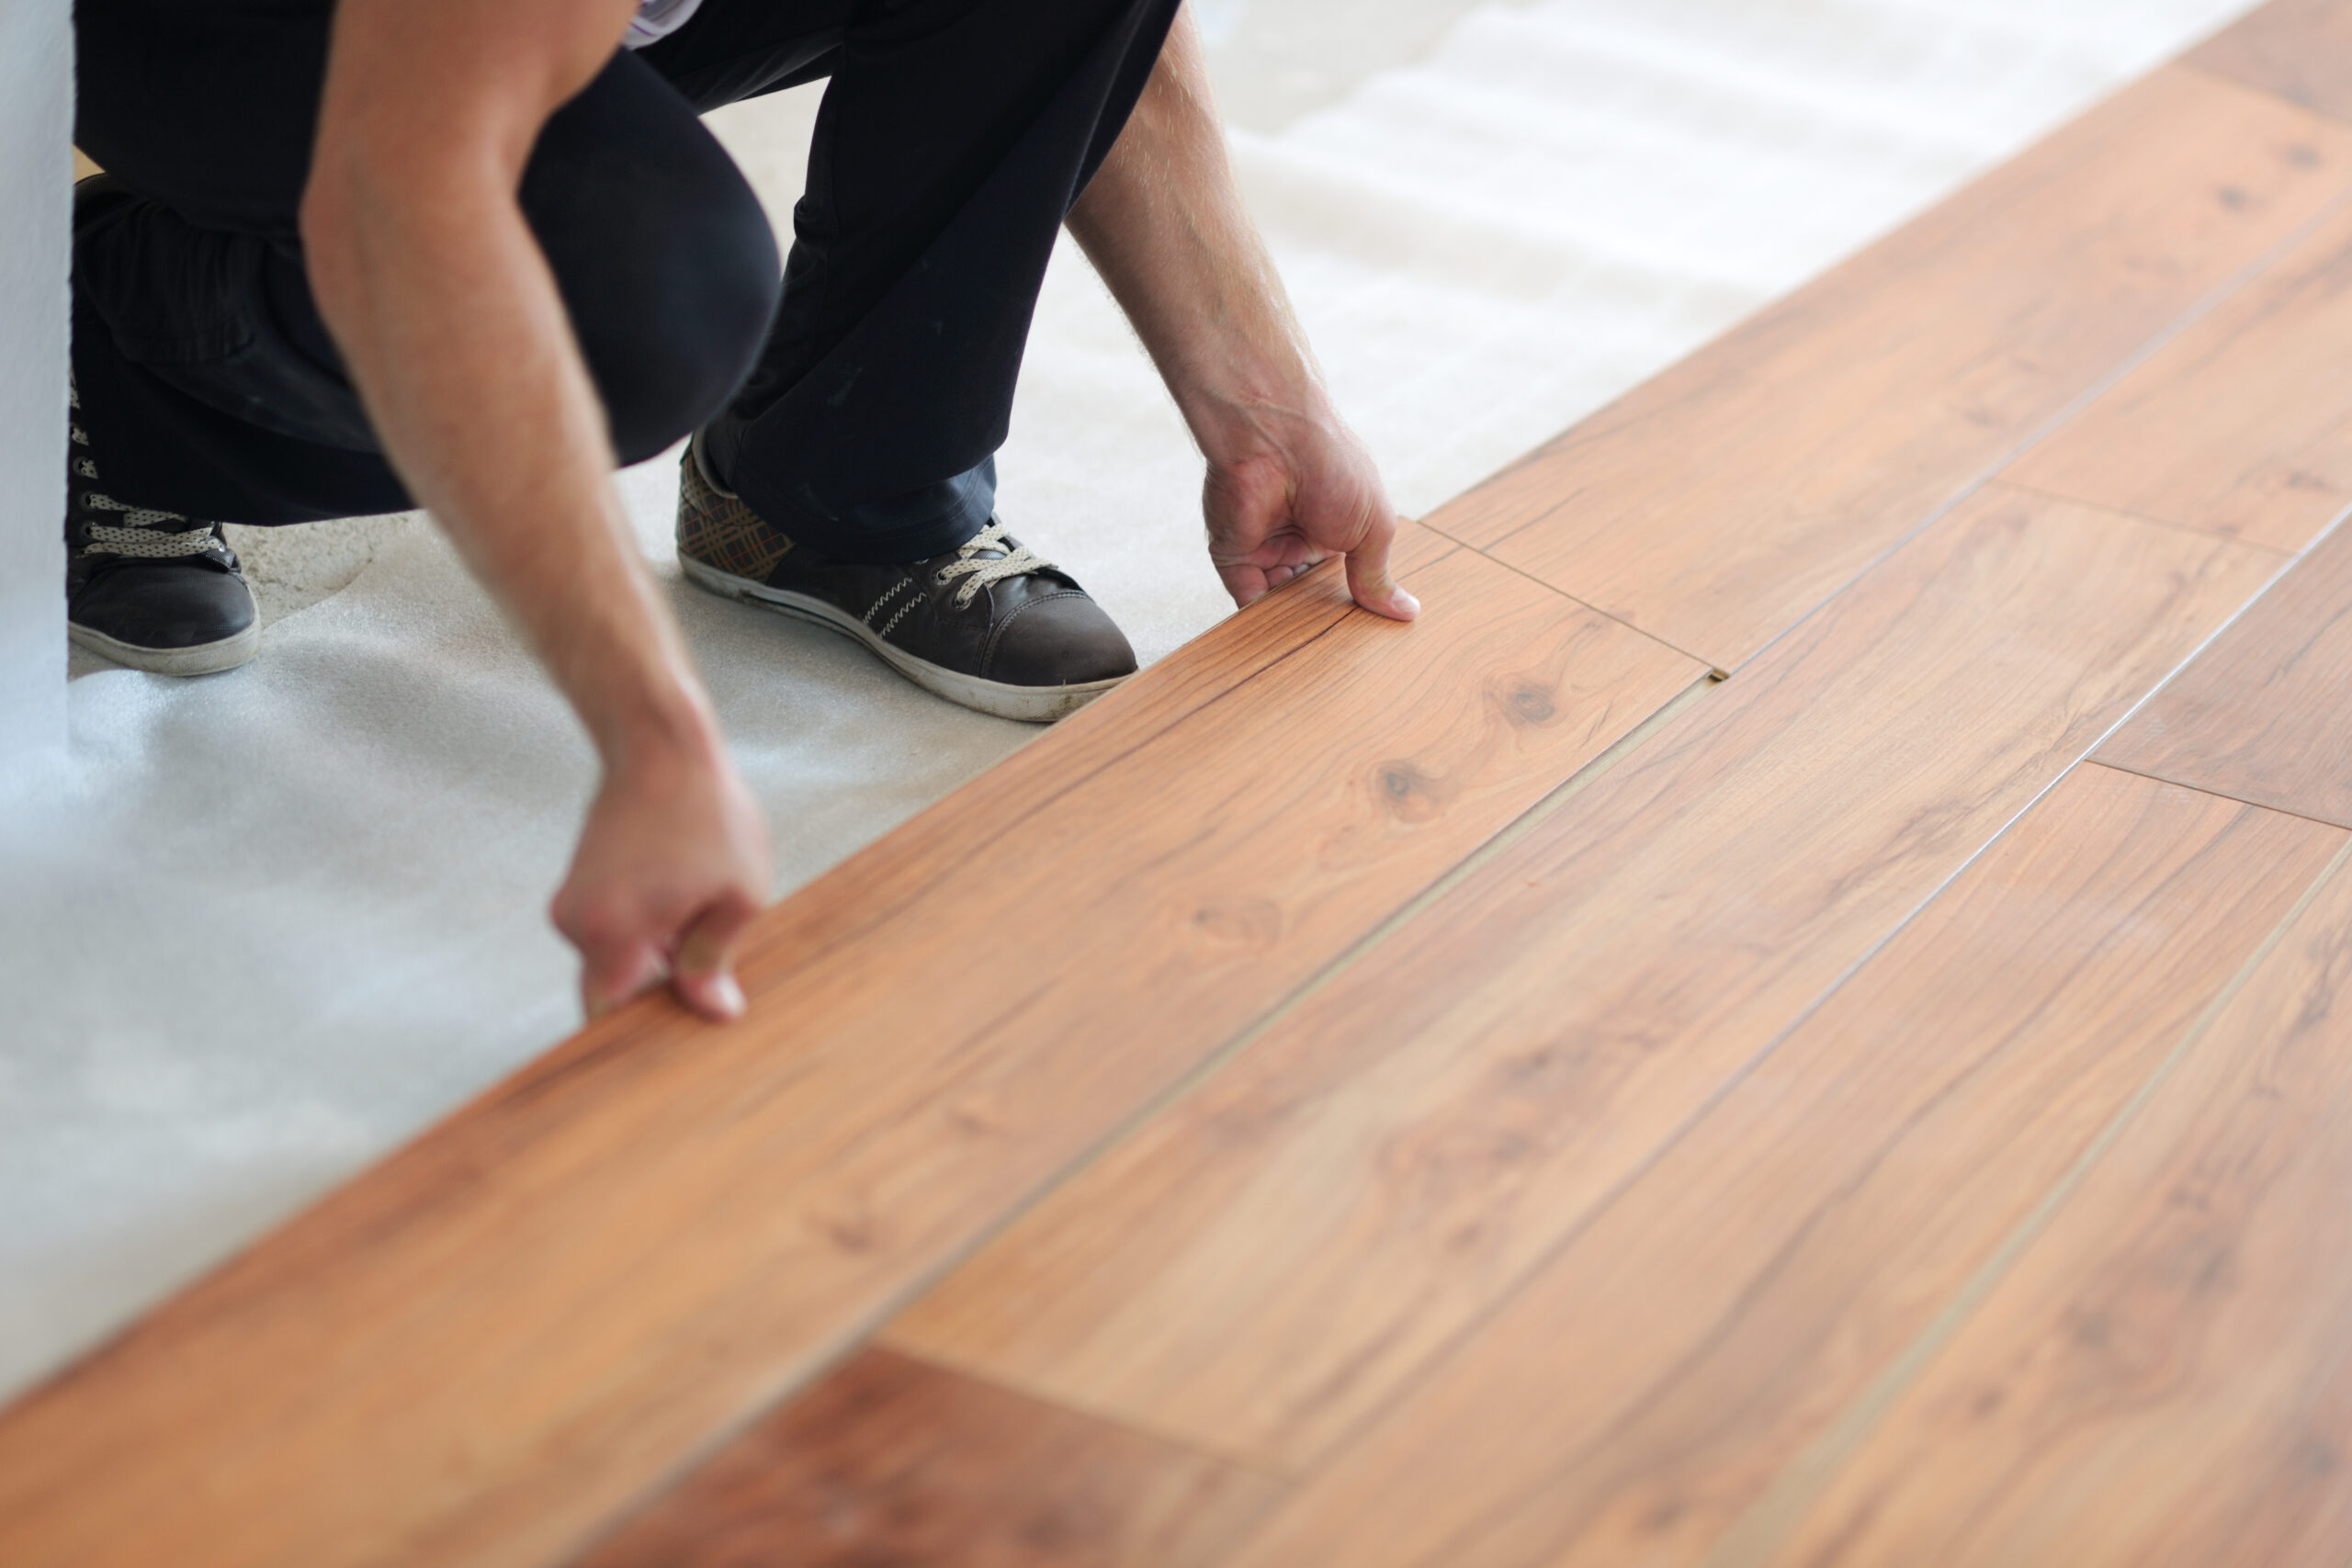
Tiling a bathroom can be a daunting task, but with the right tools and techniques, it’s possible to achieve professional-looking results. In this guide, we will walk you through each step of the tile installation process, from choosing the right tiles to grouting and sealing them. By following our tips and tricks, you can create a beautiful new look for your bathroom that will stand up to daily use.
The first step in any tile installation project is selecting the right materials. When it comes to picking out tiles for your bathroom, there are several factors to consider. Firstly, think about the style and design you want to achieve. Are you looking for something modern or traditional? Do you prefer bold patterns or subtle textures? Once you have an idea of what you like, head to your local home improvement store or online retailer to browse their selection of tiles.
Before you start laying tiles, it’s essential to prepare the surface properly. This involves removing any existing flooring or wall coverings, repairing damaged areas, and ensuring that the subfloor is level and stable. If necessary, add a self-leveling compound to smooth out uneven spots on the floor. After the surface has been prepped, apply a thin layer of mortar adhesive onto the walls and floor using a notched trowel. Make sure to follow the manufacturer’s instructions carefully.
Once the adhesive has dried completely, it’s time to begin laying out the pattern for your tiles. Start by placing one full-size tile at the center of the room, then work your way outward, spacing the tiles evenly apart. Use spacers between the tiles to ensure consistent gaps. For larger rooms, consider breaking up the space into smaller sections to make the job easier.
After all the tiles have been laid, it’s time to fill in the spaces between them with grout. Using a rubber float, spread the grout over the joints, making sure to press it firmly into place. Wipe off excess grout with a damp cloth before it sets. Finally, once the grout has cured, apply a clear sealer to protect against stains and water damage. With these steps, you should end up with a beautiful, durable finish that will last for years to come.

